You lift a beautifully smoked brisket from the grill, set it on the patio table, and reach for your knife. One cut later, meat juices run toward the edge while your guests hover beside your elbow. A great brisket deserves a better finish.
If you’re learning how to carve brisket outdoors without a mess, the trick starts before the blade touches the meat. Here’s how you can concentrate on making tender slices instead of rescuing the tablecloth.
Let the Brisket Rest Before Reaching for the Knife
Cut a brisket straight from the smoker, and you’ll send much of its hot juice across the board. Resting gives the meat time to settle and makes the slices easier to handle.
Keep the brisket wrapped while it rests, then monitor its internal temperature with a food thermometer. For an extended wait before serving, use equipment that holds cooked food at 140°F or above. Don’t leave the brisket sitting on the patio for hours while everyone finishes a game.
If you’re short on time, prepare the carving station during the rest. You’ll have everything ready when the brisket reaches a comfortable slicing temperature.
Choose a Long, Sharp Slicing Knife
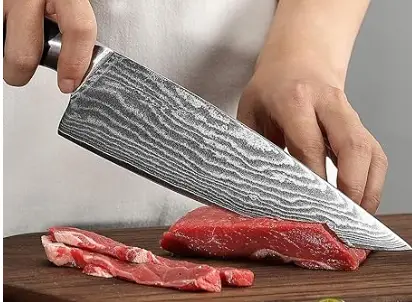
A short chef’s knife will cut brisket, but it forces you to make several strokes across a wide piece of meat. Those repeated passes often tear the bark and leave ragged edges.
Reach for a sharp slicing knife with a long, narrow blade. Around 10 to 12 inches gives you room for smooth strokes across most briskets. A rounded tip helps when you’re working near other people, although blade control matters much more than tip shape.
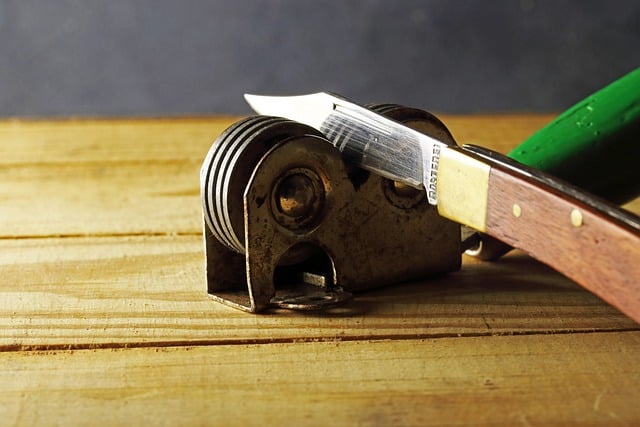
You don’t need to press hard. Let the edge glide through the meat, then lift it clear before starting the next slice. If your knife drags or shreds the bark, sharpen it before the next cookout. Don’t try to compensate with extra force.
Set Up a Carving Spot Away From the Crowd
Choose a firm countertop or sturdy table with enough elbow room for a full brisket. Don’t carve beside the grill if someone keeps reaching across your cutting board for the sauce! Position your station where guests can watch without brushing past your knife hand.
If you’re building a permanent backyard cooking area, the do’s and don’ts of outdoor kitchen placement offer helpful guidance on keeping busy walkways away from cooking surfaces. Make sure you have shade and enough light to see the grain clearly. A folding table works if it doesn’t wobble. Always test the surface before carrying over a heavy, hot brisket.
Stop the Cutting Board From Sliding
Outdoor counters often have smooth surfaces, and a loose board shifts the instant you apply pressure. That’s bad news when you’re holding a sharp knife over a slippery brisket. Choose a large food-safe board with a juice groove or place it inside a clean, rimmed sheet pan.
Before the meat arrives, set out the following:
- A clean rimmed tray for collecting juices.
- Tongs for moving hot sections of brisket.
- A serving platter within easy reach.
- Paper towels for wiping small spills.
Find the Grain Before Making the First Cut
Brisket contains two major muscles, the flat and the point, and their fibers run in different directions. Slicing along the fibers can make even tender brisket chewy. Slice across them, and each bite separates more easily.
Look closely at the exposed meat to identify the direction of the long muscle fibers. If the bark hides the grain, examine the underside or a trimmed edge. Some pitmasters mark the grain direction before smoking by trimming a small corner off the flat.
Recognize the Change Between the Flat and Point
The flat looks leaner and more evenly thick. The point sits above part of it and carries more internal fat. Where the two muscles overlap, the grain changes direction. Pause when you reach that transition. Continuing to slice in the same direction won’t give you the best results.
Slice the Flat Without Shredding the Bark
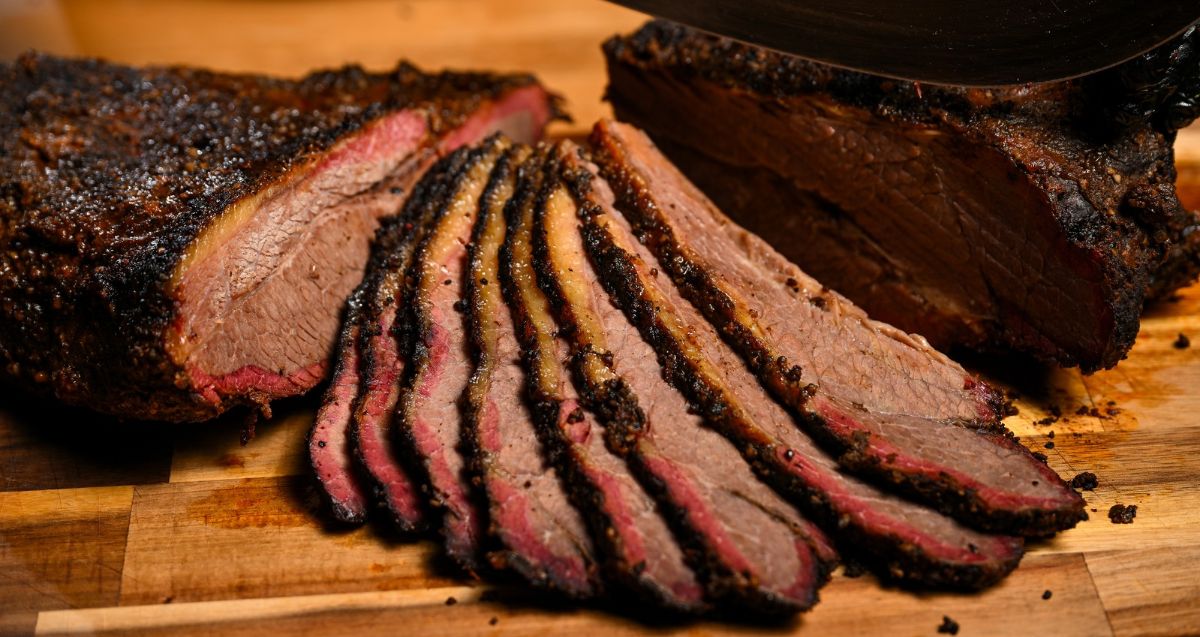
Start at the thinner end of the flat after confirming its grain direction. Hold the brisket steady with tongs, keeping your fingers away from the blade. Cut across the fibers with a long, controlled stroke.
Aim for slices roughly a quarter-inch thick. If the lean meat falls apart, try slightly thicker slices. If each piece feels tough despite proper cooking, check whether you’ve followed the grain by mistake.
Avoid pushing down on the brisket with your palm. Pressure often squeezes out juices and makes the surface harder to control.
Turn the Point To Follow Its Own Grain
When you reach the thicker, fattier point, don’t keep cutting along the flat’s original line. The fibers change direction, so turn the meat and find the new grain before slicing.
If you prefer, separate the point from the flat by following the natural fat seam. Use the tip of your knife carefully along that seam rather than hacking through the two muscles. Then rotate the point until your cuts run across its fibers.
Point slices often hold together better when you cut them a little thicker than the flat. Their richer fat content gives them a different texture, which many barbecue fans prefer.
Catch the Juices and Serve in Small Batches
The juice collecting in your pan belongs with the barbecue, not on your shoes. Pour it carefully into a heat-safe container and skim excess fat if needed. Spoon a little over the meat before serving, provided you handled the juices safely throughout the cook.
Don’t slice the entire brisket hours before everyone eats! Exposed cut surfaces cool and dry out faster. Instead, carve enough for the first round and keep the remaining meat properly hot until guests return.
Watch the serving temperature, too. Keep hot brisket at 140°F or above if you’re holding it for later service. If you aren’t keeping it hot, refrigerate leftovers within two hours, or within one hour when outdoor temperatures exceed 90°F.
Clean Your Knife Before the Patio Gets Sticky
As the platter empties, deal with the carving station before brisket fat hardens on every surface. Scrape food scraps into the trash, then wash your knife and board with hot, soapy water.
Once you’ve learned how to carve brisket outdoors without a mess, you’ll spend the evening serving slices you’re proud of. Just remember to keep the pan under your board until you’ve transferred the last piece.